
The Fixtures, Meters and Gels Behind Our Studio Lighting Plans
6 min read
A look at the instruments, measuring tools and colour materials we rely on when lighting studio sets, interviews and live stages, and why each earns its place in the rig.
Why the toolkit matters more than the plan on paper
I work in audio, but a great deal of my day is spent in rooms that Hannah Pritchard has already lit, and I have learned to read a lighting rig the way she does. A lighting plan is only as reliable as the instruments and materials behind it. A drawing can promise soft, even skin tones, yet if the fixtures drift in colour or flicker against the camera shutter, the promise fails on the monitor wall.
That is why our lighting design work begins with a short list of tools we trust, not with a shopping catalogue. Each item has a job: shaping light, measuring it, or changing its colour. When one of them does not earn its place, it comes out of the van.
Late autumn makes this plain. Shorter days mean daylight through studio windows and venue doors cannot be counted on, so everything we bring has to carry the picture alone.
Fixtures: soft sources, hard sources and the space between
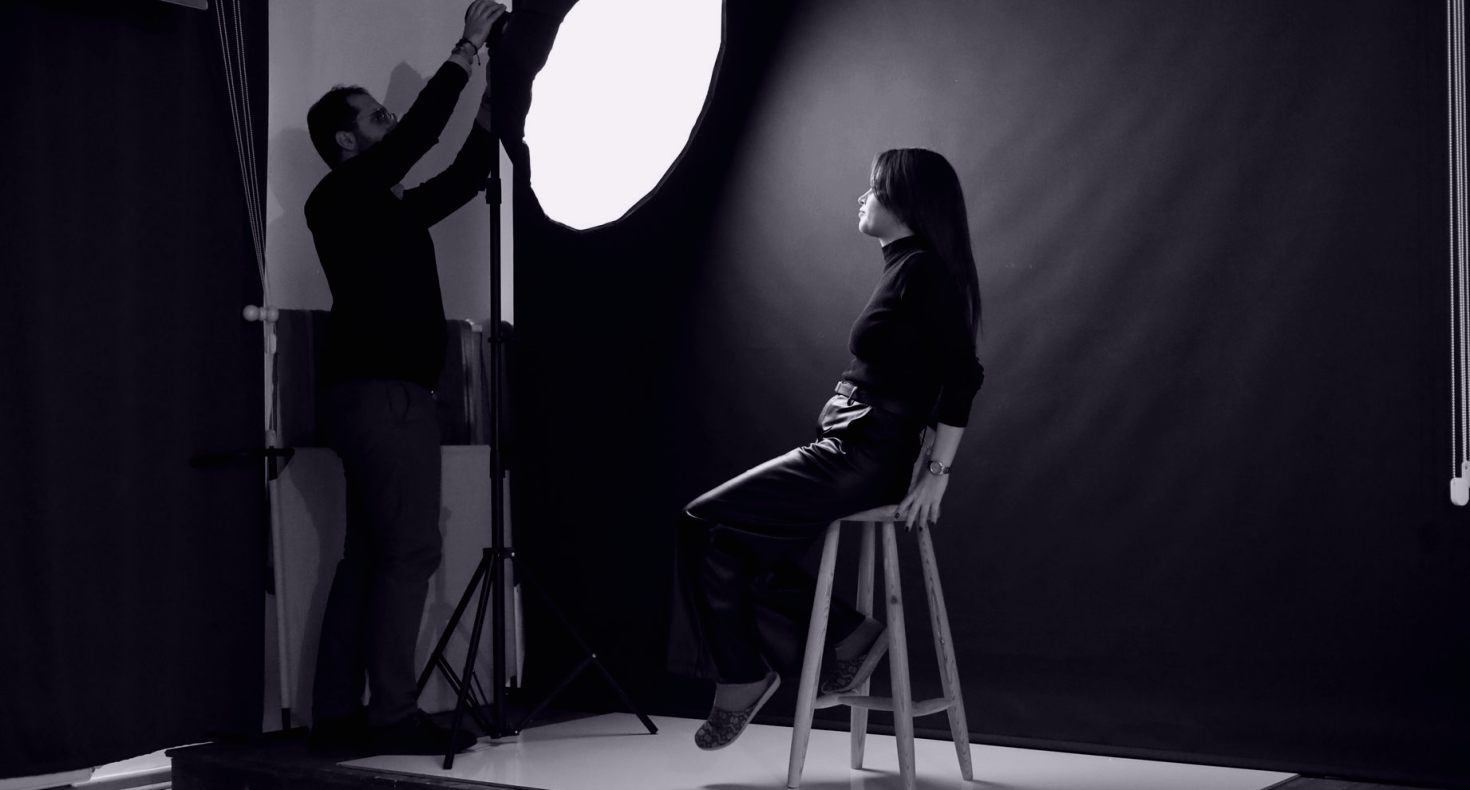
Most of our studio interviews are lit with a mix of soft and focused sources. Large soft panels give a gentle key that flatters faces and keeps shadows forgiving. Fresnel-type spotlights, with their adjustable beam, are used where we need a controlled edge: a hair light, a background pool, a patch of warmth on a set wall.
The balance between key and fill is the heart of the craft. Too much fill and the face goes flat; too little and the camera loses detail in the shadow side. We set the key first, bring the fill up until the shadow reads naturally, then check both on a calibrated monitor rather than trusting the eye alone.
Fixtures with dimming that stays clean at low levels matter more than raw output. A lamp that shifts colour as it dims forces the camera team to rebalance constantly, and that costs rehearsal time.
Measuring light: meters, monitors and waveforms
Our eyes adapt so quickly that two people can stand in the same room and disagree about how bright it is. A handheld light meter ends that conversation. We read the key at the speaker's face position, then the fill, then the background, and write the numbers on the plan so the setup can be repeated on the next recording day.
The camera system gives a second opinion. A waveform monitor shows whether skin sits where it should and whether highlights are clipping, which a picture monitor alone can hide. When Daniel Whitcombe signs off a look, he does it against these readings as well as against the picture.
Colour temperature gets the same treatment. We measure it with a meter and match every fixture in a scene to the same target, since a mix of cooler and warmer sources reads as an error, not as mood.
Colour: gels, filters and controlled mood
Colour is where lighting design turns from technical to expressive. We use correction gels to bring tungsten and daylight sources into agreement, and diffusion sheets to soften a source that is too harsh for a close shot. These are thin, cheap materials, but they decide whether a set looks cohesive.
For mood, we prefer restraint. A single tinted accent on a backdrop can separate a presenter from the wall behind them, whereas a full wash of saturated colour tends to fight with the skin tones we work hard to protect. Hannah's rule is that colour should be noticed by the audience as atmosphere, never as an effect.
Gels fade and scorch near hot fixtures, so we replace them on a schedule instead of waiting for the picture to complain.
Cables, rigging and the unglamorous essentials
Much of what keeps a lighting setup safe and quiet is not lighting equipment at all. Stands with proper weighting, safety bonds on overhead fixtures, tidy cable runs taped away from walkways, and dimmer packs placed where their fan noise stays out of my microphones. I notice this last one more than most.
Lighting and sound share a room, and good habits on one side protect the other. A buzzing dimmer or a ticking cooling fan can undo careful microphone placement, so we agree fixture positions with audio before the first lamp goes up.
Every item is checked when it comes back from a job: lamps tested, cables inspected, clamps tightened. It is repetitive work, and it is the reason a rig behaves on the day.
Adapting the kit to the room
No two venues give us the same conditions. A narrow community hall with a low ceiling asks for compact fixtures and careful flagging to stop light spilling on projection screens. A conference stage may need stronger sources to hold their own against LED displays behind the speaker.
We visit or study the space before choosing the kit, and we ask producers a few plain questions: how many people on camera, how long the recording runs, what the backdrop looks like. The answers decide whether we bring a light, portable set or a full studio-style rig.
What stays constant is the method: choose fixtures for the shot, measure instead of guessing, control colour with simple materials, and keep the rig quiet and safe. The tools change with the job, while the habits do not.
A lighting plan succeeds because of small, dependable choices: instruments that hold their colour, meters that replace opinion, gels that are changed on time, and a rig that stays quiet beside the microphones. We keep the toolkit short and well maintained, and we adjust it to each room and recording. If you are planning an interview, a studio set or a live stage, tell us about the space and we will talk through what it needs.